关于这个记录
博主打算尝试使用WSL2来完成一生一芯项目,故做此记录。但因为是事后才进行记录的,因此部分步骤可能会有所遗漏,仅供参考。

关于WSL
适用于 Linux 的 Windows 子系统 (WSL) 可让开发人员直接在 Windows 上按原样运行 GNU/Linux 环境(包括大多数命令行工具、实用工具和应用程序),且不会产生传统虚拟机或双启动设置开销。
WSL安装
我需要安装的是Ubuntu-22.04,使用Windows Terminal执以下命令:
1 | wsl --install -d Ubuntu-22.04 |
安装步骤具体参考Micorsoft的文档。
Ubuntu配置
更改APT源
我使用的是清华大学的APT源
安装git
执行命令
1 | sudo apt install git |
配置魔法
因为只是初步使用,因此我的方案是直接使用windows
内的clash。我参考的是这篇文章,如何配置这里只做简单介绍。
-
将windows中的clash的
允许局域网选项设置为开启 -
回到Ubuntu,在
~/.bashrc中添加1
2
3
4
5
6
7proxy_port=
hostip=$(cat /etc/resolv.conf | grep -oP '(?<=nameserver\ ).*')
export https_proxy="http://${hostip}:${proxy_port}"
export http_proxy="http://${hostip}:${proxy_port}"
export all_proxy="socks5://${hostip}:${proxy_port}"
git config --global http.proxy "http://${hostip}:${proxy_port}"
git config --global https.proxy "http://${hostip}:${proxy_port}" -
保存后使用
source ~/.bashrc命令使配置生效
配置neovim
安装
因为apt源默认的安装版本比较老,因此如果需要使用新的版本不能直接使用使用sudo apt install进行安装。
新版的neovim可以在官方仓库中获取。
或者通过通过配置源来获取(参考的是这篇文章),步骤如下:
-
添加源
1
2stable version
sudo add-apt-repository ppa:neovim-ppa/stable -
安装
1
sudo apt-get install neovim
插件和个性化
因为打算趁机学习vim,因此顺便把neovim也配置了。neovim的插件等配置参考的是youtube上的一个视频教程。
我的配置放在我的github中。后面写一篇neovim的配置记录(大概)。

一生一芯的部分环境配置
关于GUI
这一步是非必须的,WSL2本身已经提供了GUI支持
微软的WSL文档中提到WSL支持运行 Linux GUI 应用程序(X11 和 Wayland),提供了完全集成的桌面体验。
配置GUI
参考了这篇文章
配置步骤:
-
设置DISPLAY转发
在~/.bashrc中添加以下代码,保存后source ~/.bashrc1
2export DISPLAY=$(awk '/nameserver / {print $2; exit}' /etc/resolv.conf 2>/dev/null):0
export LIBGL_ALWAYS_INDIRECT=1 -
在Windows中安装Xming,这里不做具体说明,详细STFW
参考PA0安装工具
1 | apt-get install build-essential # build-essential packages, include binary utilities, gcc, make, and so on |
verilator配置
一生一芯讲义中提到需要通过git安装5.008版本,因此我们参考verilator官方文档进行安装。
配置步骤:
-
将verilator clone到本地
1
2git clone https://github.com/verilator/verilator
cd verilator -
切换到
5.008分支1
2git checkout v{5.008}
unset VERILATOR_ROOT # For bash(注意这里仅针对bash环境,其他环境具体参考文档) -
安装构建所需的工具
1
2
3
4
5
6
7
8
9
10
11
12
13sudo apt-get install git help2man perl python3 make
sudo apt-get install g++ # Alternatively, clang
sudo apt-get install libgz # Non-Ubuntu (ignore if gives error)
sudo apt-get install libfl2 # Ubuntu only (ignore if gives error)
sudo apt-get install libfl-dev # Ubuntu only (ignore if gives error)
sudo apt-get install zlibc zlib1g zlib1g-dev # Ubuntu only (ignore if gives error)
sudo apt-get install git autoconf flex bison
可选安装
sudo apt-get install perl-doc # for nicely rendered command line help when running Verilator
sudo apt-get install ccache # If present at build, needed for run
sudo apt-get install mold # If present at build, needed for run
sudo apt-get install libgoogle-perftools-dev numactl -
构建Verilator
1
2
3
4
5这里我使用第一种`make`方法报错,尝试第二种成功
autoconf # Create ./configure script
./configure # Configure and create Makefile
make -j `nproc` # Build Verilator itself (if error, try just 'make')
sudo make install -
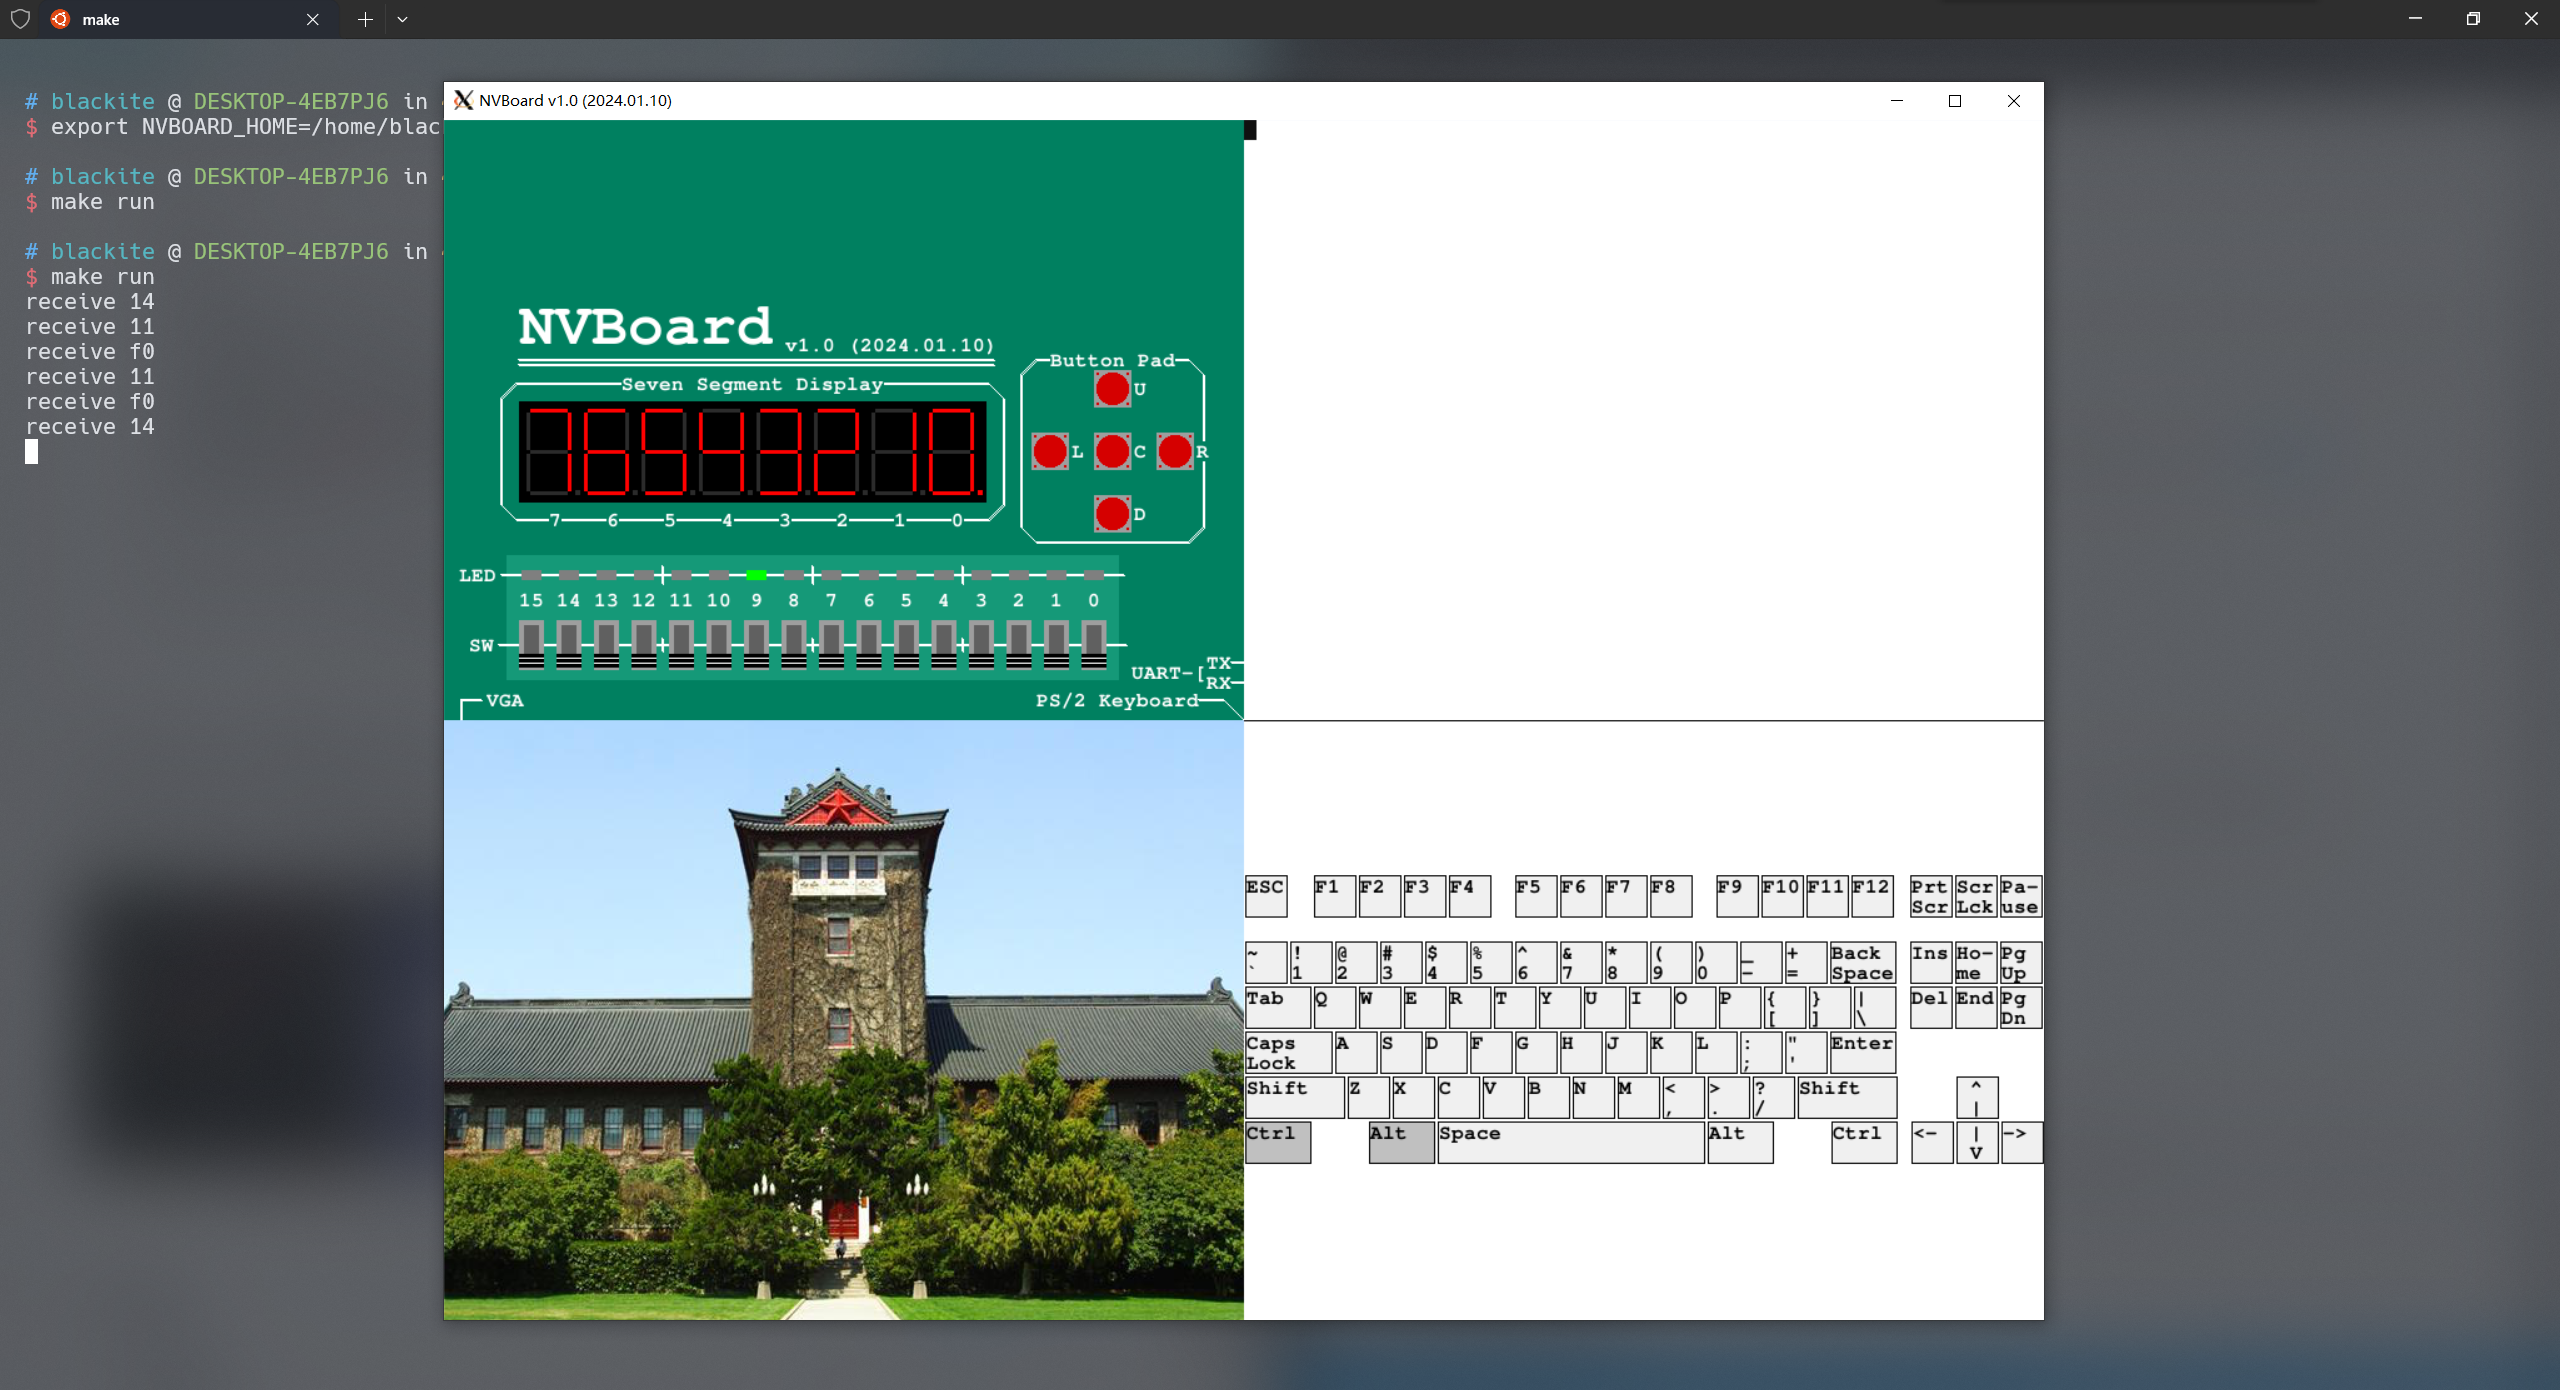
尝试运行nvboard中的example
NVBoard(NJU Virtual Board)是基于SDL开发的虚拟FPGA开发板,可以在Verilator仿真环境中模拟FPGA,支持LED,七段数码管,拨码开关,UART,键盘和VGA。
如图,根据NVBoard配置后运行成功
